Description
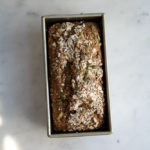
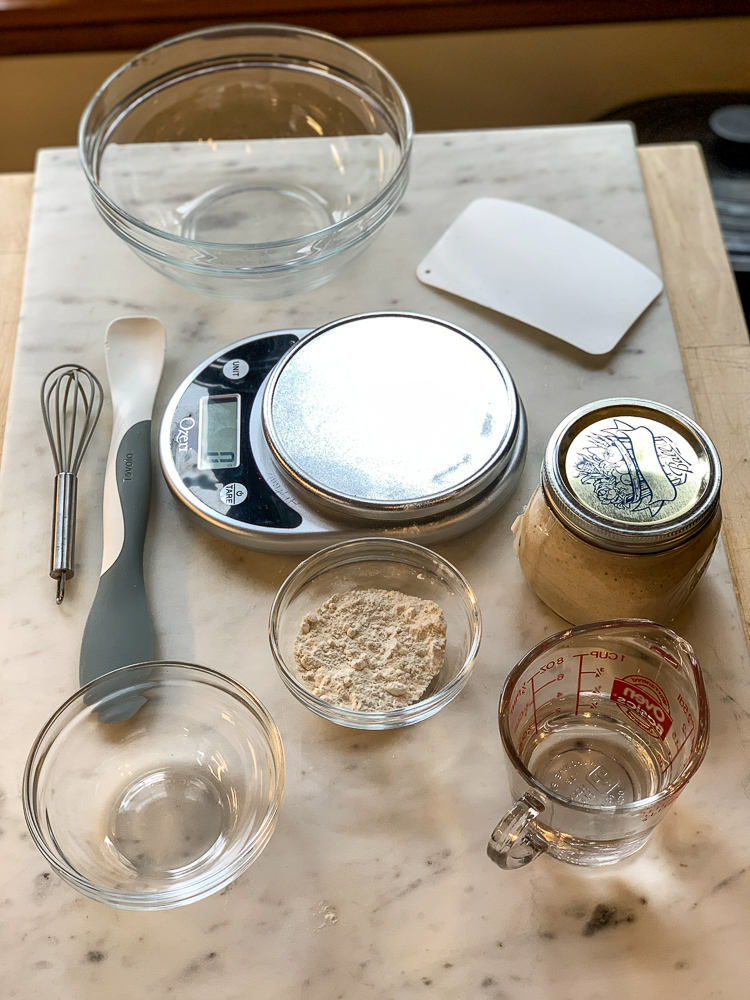
A kitchen scale is a wonderful thing when making bread, or doing any sort of baking for that matter. It is much more accurate than measuring cups, spot-on in fact. Here are some other nice things to have when baking bread.
You will need:
Kitchen scale
Bread flour
Warm water
Yeast
Large mixing bowl
Dough scraper (or rubber spatula)
Clean hands
Plastic wrap
Banneton (fancy wicker proofing basket)
Bowl (for proofing, if not using a banneton)
Tea towels (to line proofing bowls)
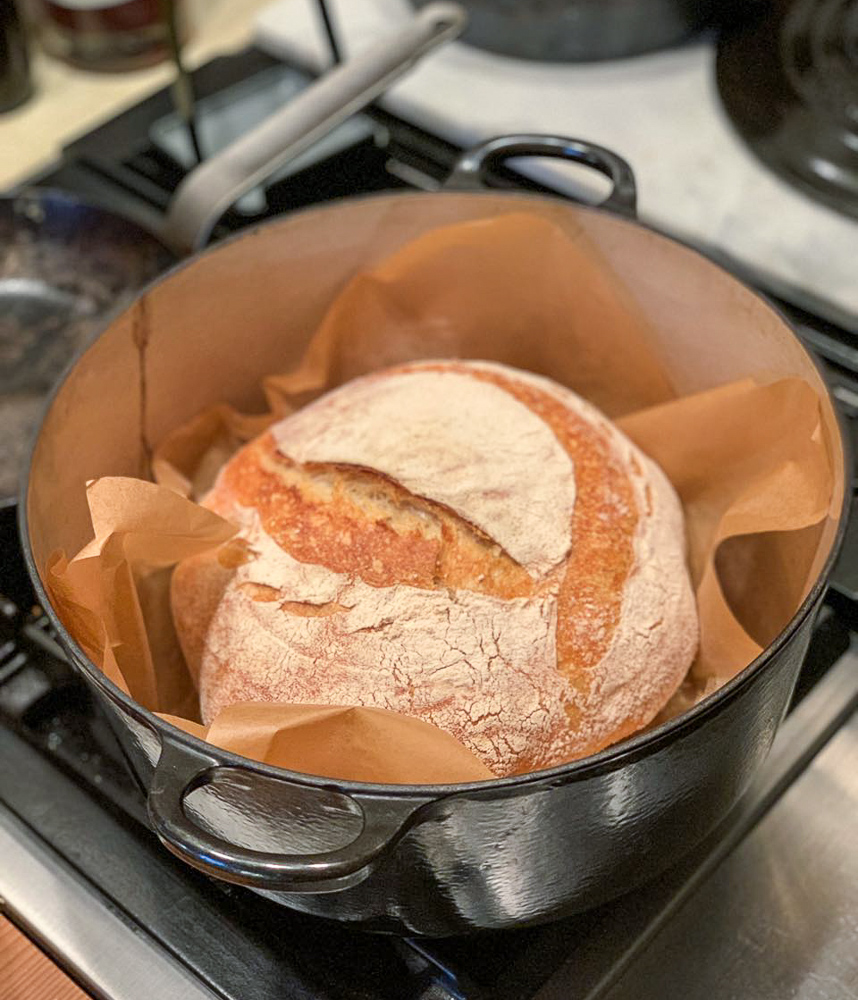
Large covered dutch oven (cast iron is best)
or
Pizza stone
Spray bottle for water (if using pizza stone)
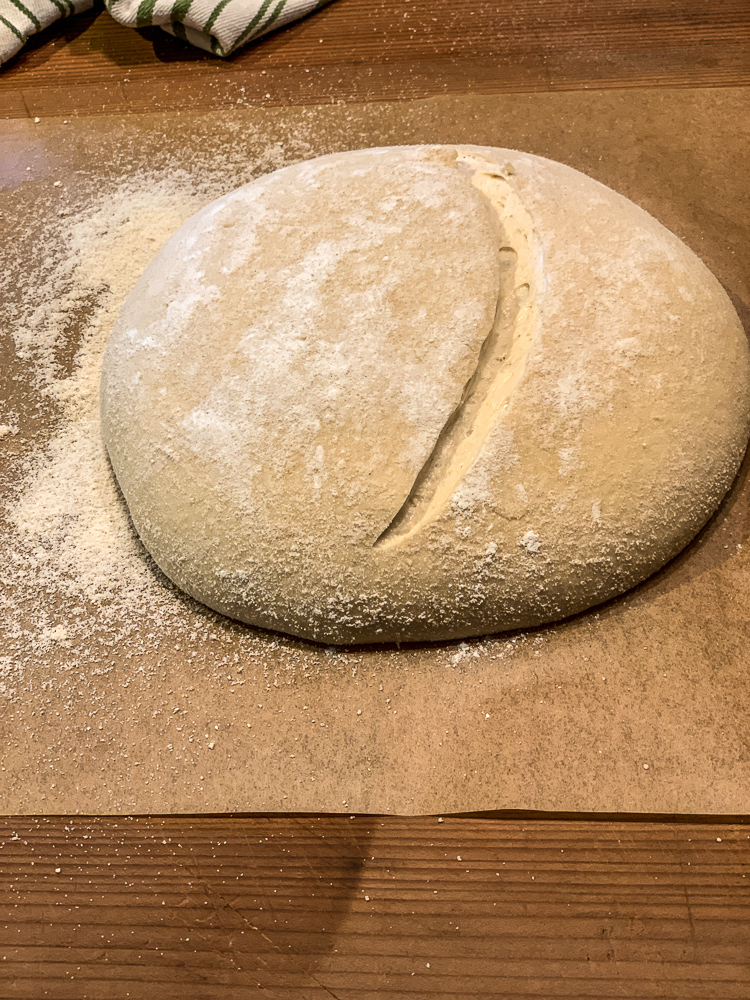
Razor blade or sharp serrated knife (for scoring the tops of dough)
Ingredients
20 grams sourdough starter
20 grams water
20 grams bread flour (or a combo of bread and whole wheat flour or rye flour)
Instructions
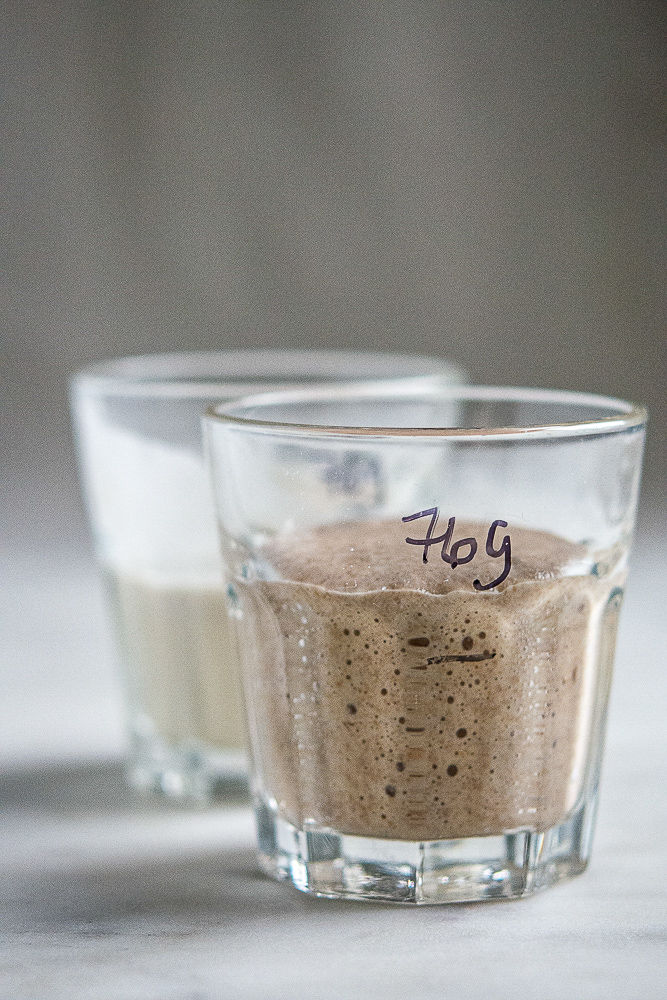
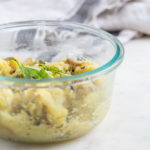
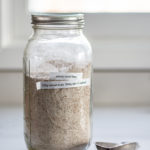
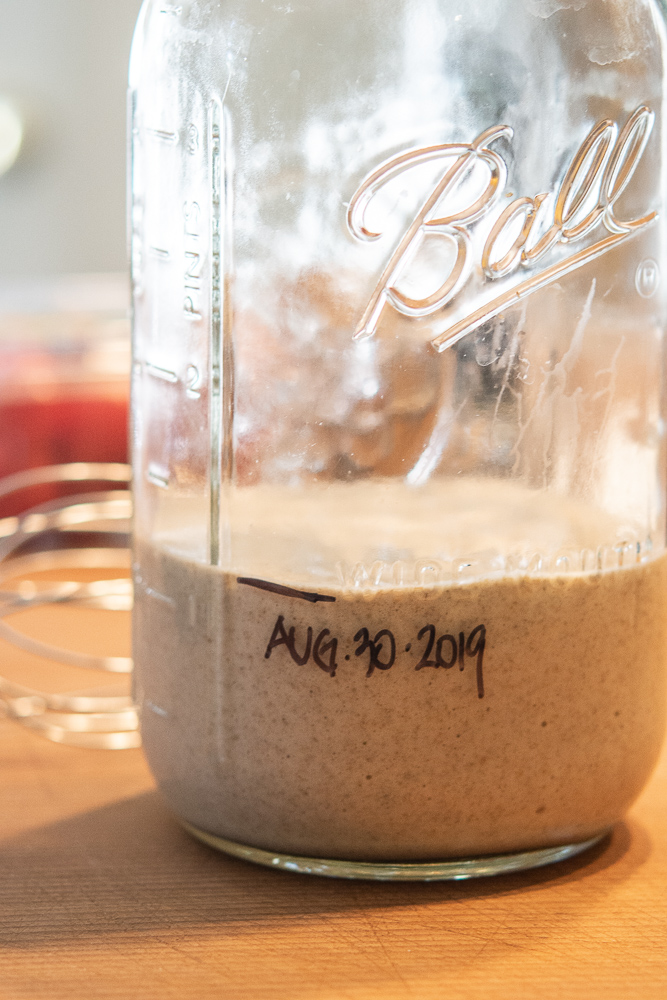
Use a clean glass jar to hold your starter.
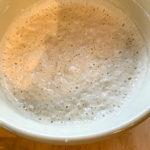
Mix the starter with water, stir well. Then add the flour, mix until there are no lumps.
Let sit at room temperature for a day. You should see bubbles, and it should start to smell yeasty.
If you keep it at room temperature (after a few days of feeding), feed it daily. If you only use it once a week to bake, then store it in the refrigerator and feed it weekly, always discarding some, but not all, of the original starter before each feeding. Keep at least 2 heaping tablespoons of your original starter (about 50 – 60 grams) on hand at all times.
Notes
tip #1: Weigh the empty jar before adding the starter etc. then, when you go to feed it the next day, you can calculate what is in the jar, then discard a certain amount and feed.
tip #2: Always feed the same amount of flour and water as starter, don’t underfeed (another benefit to discarding some sourdough)
tip #3: Use the same type of flour when feeding your starter. I like to use a combination of bread flour and whole wheat flour.