• Skip to primary navigation
  • Skip to main content
  • Skip to primary sidebar
  • Skip to footer

SheCooks.Design

Recipes, cooking classes, design, and good, clean fun

  • Cooking Classes
  • GrΓ‘Bia Irish Food Tour 2025
  • Recipes
    • All Recipes
    • Dinner
    • Snack
    • Breakfast
    • Soups
    • Desserts
    • Appetizer
    • Side Dish
    • Brunch
  • How To Videos
  • About
    • Media
    • Ireland Blog
    • Contact

Berry Pavlova

July 1, 2020

Jump to Recipe·Print Recipe
berry pavlova on a cake plate

The Pavlova, the beloved crispy, yet fluffy ‘cake’ filled with cream and berries. What could be a more perfect summer dessert? My Berry Pavlova has a little added zing with lemon zest in its marshmallowy base. It’s also lighter because I’ve used Greek yogurt with a little cream for the filling.

Julia Child Quote: 'A party without cake is just a meeting'

Sure, it’s a sweet meringue, but combined with the lighter (very little sugar added) filling and naturally sweet fruit on top, it’s sort of amazing, and beautiful too.

Make it for the 4th!

  • because it’s pretty
  • because it’s light and fruity
  • because it’s a make-ahead dream

And really, don’t think this is just for summer. I’ve made a fantastic version of this with roasted pears. I hope to post that one soon. But have fun with it, switch out some berries for cherries (see my cherry pitting tip below), or cranberries, no need to stick to the recipe as far as the fruit is concerned!

What’s a Pavlova anyways?

Supposedly, the pavlova was invented by a chef in Australia for the Russian ballerina Anna Pavlova. He was trying to mimic her tutu and her dancing with a light and airy dessert. Of course, there are many alternative stories of its creation, but I like this one. It’s my story, so I’m sticking (sticky meringue pun intended) to it!

full close up shot of berry pavlova

Some other delish summer desserts you might want to try

  • Pineapple Upside-Down Cake
  • Peach Galette (from my friend Becca at Fork in the Kitchen)
  • Chocolate Pot de Creme
Naked berry pavlova base
A naked meringue is just a lonely pavlova, love it up with cream and berries.
Cherry pitting tip (in case you decide to use some in-season fresh cherries in your pavlova): Using a small paring knife, slice around the perimeter of the cherry. Then use a paper-clip to scoop out the stone. Easy peasy.
piece of pavlova cake
Print
clock clock iconcutlery cutlery iconflag flag iconfolder folder iconinstagram instagram iconpinterest pinterest iconfacebook facebook iconprint print iconsquares squares iconheart heart iconheart solid heart solid icon
Berry Pavlova close up shot

Berry Pavlova

5 Stars 4 Stars 3 Stars 2 Stars 1 Star No reviews
  • Author: Shelagh
  • Prep Time: 30 minutes
  • Cook Time: 1 hour +
  • Total Time: 1 hour 30 minutes+
  • Yield: 6 1x
  • Category: Dessert
  • Method: Baking
Print Recipe
Pin Recipe

Description

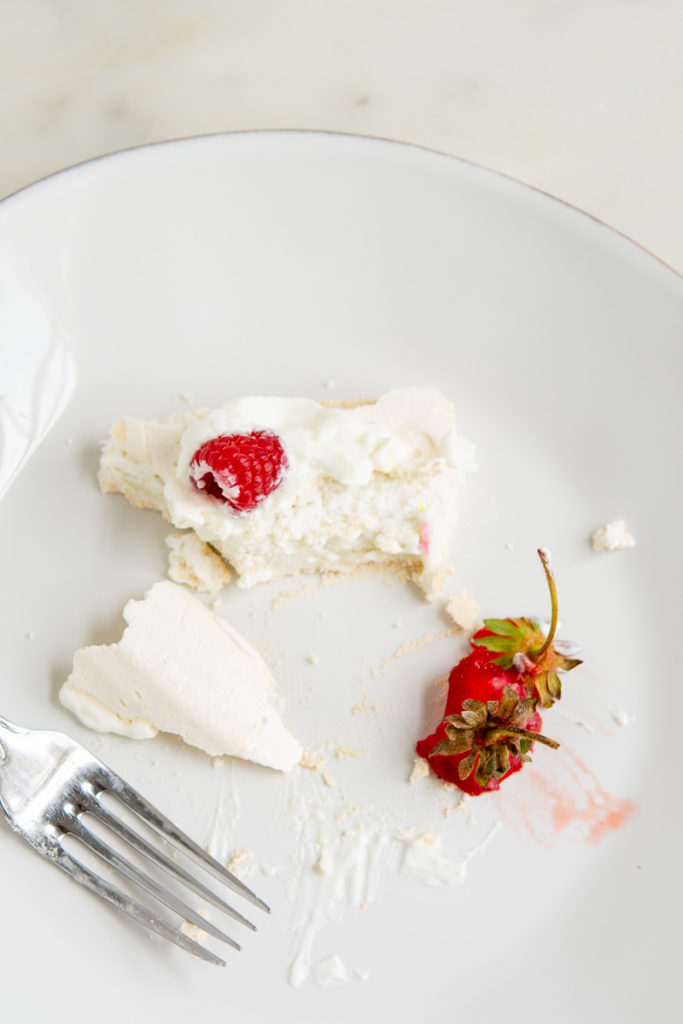
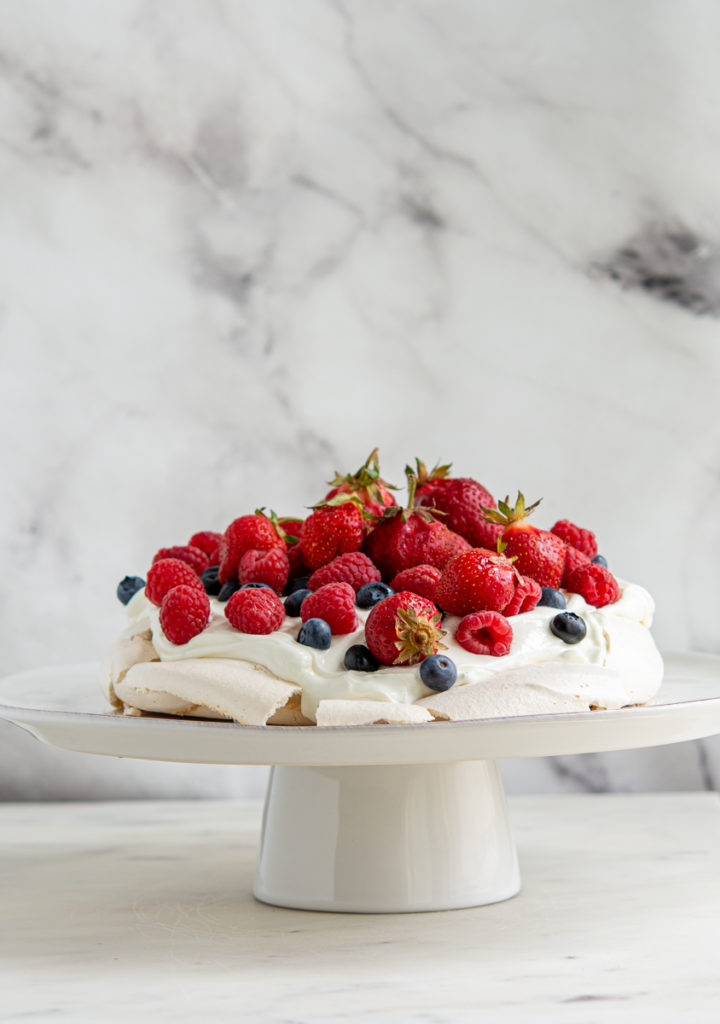
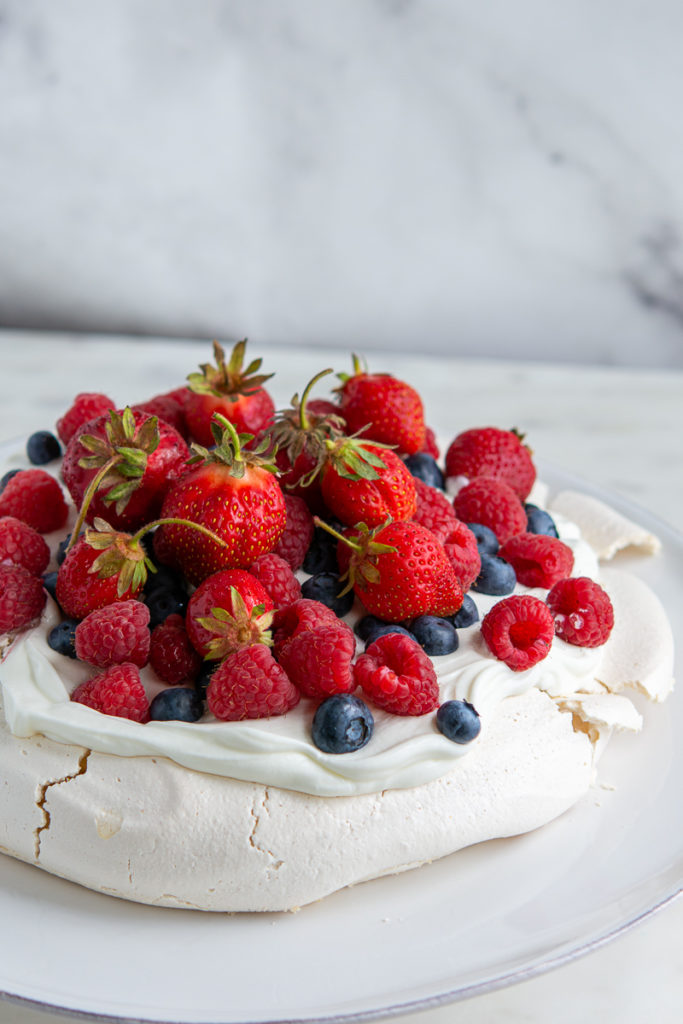
You know those ‘meringue’ cookies you get in the store, those hard and crunchy overly sweet ones? Well get that cloying image straight out of your head, this meringue has a soft and pillowy interior with a gently crispy crust. I dare you not to eat it before you finish assembling!


Ingredients

Units Scale
  • 6 large (180g) egg whites, room temperature
  • Pinch of fine sea salt
  • 1 cup sugar
  • 1-1/2 teaspoon cornstarch
  • Zest* of one lemon
  • 1–1/2 teaspoons lemon juice
  • 1 teaspoon pure vanilla extract (I like Penzeys)
  • 2+ cups fresh berries (strawberries, blueberries and/or raspberries)
  • 1 cup Greek yogurt, cold
  • 1/2 cup heavy cream, cold
  • 1 tablespoon honey (optional)

Instructions

  1. Preheat oven to 250 degrees. Using a pencil, trace** a 8-9″-diameter circle (use a pie or cake pan to trace around) on a piece of parchment paper (affiliate link). Place on a rimmed baking sheet (affiliate link), pencil-side down.
  2. Rub the cut side of the lemon (after zesting then juicing!) around the inside of your mixing bowl, this removes any residual fat on the sides of the bowl*.
  3. Gently combine the sugar and cornstarch.
  4. Whisk egg whites and pinch of fine sea salt on medium speed until it is bubbly and increasing in volume. Keeping the mixer at medium to medium-high ensures enough time for the sugar to dissolve, having the mixer too high, grainy sugar.
  5. Gradually, add one tablespoon at a time, of the sugar mixture, beating until stiff and glossy peaks form. You should not be able to rub the meringue between your fingers and feel any sugar grains. Beat in lemon zest, lemon juice, and vanilla.
  6. Plop the mixture into the center of the circle on the parchment. Then using the penciled circle as a guide, with an offset spatula, form the meringue into a mound. Make sort of a well in the center (which will hold the cream and berries) of the meringue.
  7. Bake for about 1 hour to an hour and fifteen minutes. Turn off heat; leave in the oven with it ajar (use a wooden spoon to hold it open) until completely cooled (this helps prevent cracking***).
  8. Once completely cooled, using two large spatulas, transfer to a cake stand or serving plate.
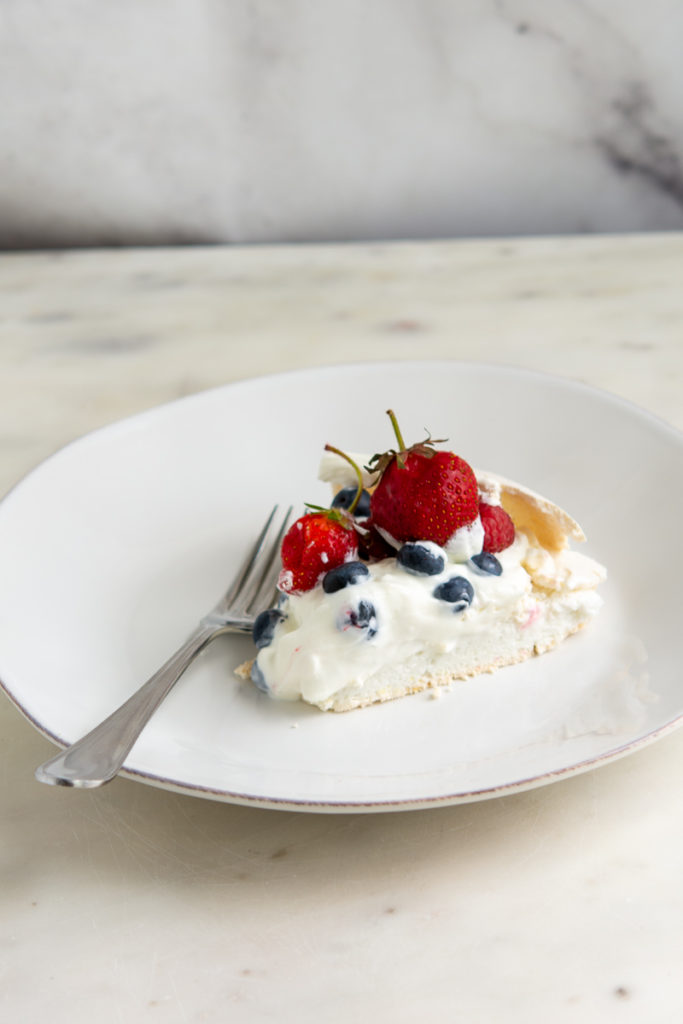
  9. To serve, whisk the Greek yogurt with heavy cream with 1 tablespoon honey (if using) until silky and holds a soft peak; mound in the middle of the pavlova.
  10. Tumble on the berries and serve.

Use a glass or stainless steel bowl, not plastic, which can have oil (no matter how much you scrub). The whites won’t whip if there is any oil in the bowl, on the whisk or spatula.


Equipment

rimmed baking sheet

Rimmed baking sheet

Buy Now β†’
Lemon Juicer

Lemon Juicer

Buy Now β†’
Microplane Zester image

Microplane grater

Buy Now β†’

(affiliate link)


Notes

*always zest your lemon before juicing, trust me, a cut lemon just won’t zest πŸ™‚

**you can certainly do a free-form disk of meringue, no worries. The pencil just helps as a guide, and perfection is NOT the objective here.

***cracking is normal, and really, it’s not a big deal (see my photos, still tastes great!

I'd love it if you shared photos of your finished dish! Tag me and I'll return the favor. Enjoy!

Tag @shecooksdesign on the Insta and hashtag it #shecooksdesign

eaten pavlova cake with berry stems
Mmmmm, that was scrumptious!

Filed Under: Desserts Tagged With: ballerina pavlova, berry pavlova, pavlova with greek yogurt, strawberry pavlova, the best pavlova

Previous Post: « Pineapple Upside-Down Cake
Next Post: Strawberry Bang! »

Reader Interactions

Comments

  1. MARY Kay Mullen

    July 1, 2020 at 12:39 pm

    Looks cool and refreshing. Who is your taster?

    Reply
    • Shelagh

      July 1, 2020 at 12:50 pm

      Never a shortage around here for tasters Mary Kay! I happen to be one of them! And it’s showing! πŸ™‚

      Reply
      • Kate

        July 2, 2020 at 7:52 am

        Outstanding as usual Shelagh! Such a yummy treat!!

        Reply
        • Shelagh

          July 2, 2020 at 9:28 am

          Thanks Kate! It’s an easy one too!

          Reply
  2. Josephine

    July 3, 2020 at 9:35 am

    Been chasing the dream of soft on the inside not too sweet perfection. Thanks Shelagh – such a fun and satisfying dessert to make. Helped me feel patio pro last night.

    Reply
    • Shelagh

      July 6, 2020 at 12:03 pm

      Love to hear this! It’s nice to be able to use fresh fruit instead of canned!

      Reply
      • Shelagh

        July 19, 2020 at 6:18 pm

        Let me know how it turns out!

        Reply
  3. Becca

    July 3, 2020 at 11:13 am

    This looks AMAZING! I love the tip on how to pit cherries. I often find myself digging them out by hand, so I can’t wait to try it! πŸ™‚

    Reply
    • Shelagh

      July 6, 2020 at 12:01 pm

      Yep, it’s a good one! Your fingers still get the badge of cherry pit honor stain, but it makes quick work of the job!

      Reply

Leave a Reply Cancel reply

Your email address will not be published. Required fields are marked *

Recipe rating 5 Stars 4 Stars 3 Stars 2 Stars 1 Star

Primary Sidebar

Social

  • Email
  • Facebook
  • Instagram
  • LinkedIn
  • Pinterest

Footer

Social

  • Email
  • Facebook
  • Instagram
  • LinkedIn
  • Pinterest
  • Twitter
yukon gold potato and a green onion
Leek and Potato Soup photo in the bowl
Vertical overhead shot of Seedy Irish Brown Bread
photo of wholemeal flour in a large mason jar
close up overhead shot of Irish Cheddar with Guinness Mac and Cheese

Copyright © 2025 Β· shecooks.design