• Skip to primary navigation
  • Skip to main content
  • Skip to primary sidebar
  • Skip to footer

SheCooks.Design

Recipes, cooking classes, design, and good, clean fun

  • Cooking Classes
  • GráBia Irish Food Tour 2025
  • Recipes
    • All Recipes
    • Dinner
    • Snack
    • Breakfast
    • Soups
    • Desserts
    • Appetizer
    • Side Dish
    • Brunch
  • How To Videos
  • About
    • Media
    • Ireland Blog
    • Contact

Pie Crust

November 19, 2023

Jump to Recipe·Print Recipe

If you know me, you know I will not have any shortening in my kitchen. I’m not too fond of the stuff. An all-butter pie crust is the way to go in my book. Knowing how to make delicious, basic pie dough is a good baking skill to master. This recipe is easy and can be made ahead of time. Follow a few tips, and it’s as flakey as a pie crust should be. Don’t be scared. It’s just pie. 

This dough freezes beautifully, you can always have one or two on hand. Pie dough can be swapped in for puff pastry in many situations as well. So easy, so tasty.

baked pie crust in a glass pie pan

chilly tips for flaky pie crust

  • Freeze the butter 
  • Use ice water
  • Weigh your ingredients
  • If the dough is getting warm, put it back in the fridge
  • Chill, chill, chill
frozen butter in flour

What’s with the butter?

Freezing the butter then coating it in flour makes it much easier to grate. And grating the butter saves the time of pinching it with your fingers. It get the butter the perfect size. It’s a great trick!

And yes, I strongly dislike Crisco (ew) but if you want to use good lard, I wouldn’t be mad at that. In fact, go for it!

grated frozen butter in a bowl of flour. box grater

Stacking the dough will help get those flakey layers. It’s almost like making puff pastry. Do your best to not overwork the dough, or it may become tough. Mix until just combined and holds together.

pie dough cut in quarters
pie dough on plastic wrap ready for the fridge

Rolling the pie dough onto the rolling pin makes it easier to slide it onto the pie plate. Just be gentle, and it’ll be fine. If you tear the dough, no fear, just get it a little wet and pinch it together. Remember, it’s just pie.

pie dough on a rolling pin with glass pie plate
dry beans in a pie plate with rolling pin

Placing parchment on the dough, then loading the pan with dry beans ( or pie weights. You will need 2-3 pounds to be sure the beans or weight comes almost to the top) will keep the par-baked crust from puffing up and shrinking. Just keep them in a few jars on the back of a shelf until you need them. I’ve had mine for over 20 years. Not kidding

Print
clock clock iconcutlery cutlery iconflag flag iconfolder folder iconinstagram instagram iconpinterest pinterest iconfacebook facebook iconprint print iconsquares squares iconheart heart iconheart solid heart solid icon
baked pie crust in a glass pie pan

Pie Crust

5 Stars 4 Stars 3 Stars 2 Stars 1 Star No reviews
  • Author: Shelagh
  • Prep Time: 15 minutes
  • Cook Time: 30 minutes
  • Total Time: 45-50 mintues
  • Yield: 1 pie crust 1x
  • Category: Dessert
  • Method: Baking
  • Cuisine: American
Print Recipe
Pin Recipe

Description

Go all butter, or go home. It’s all about the flavor, and if you follow a few tips, your pie crust will be super flaky, too! Just keep everything cold. You’ll do great!


Ingredients

Units Scale
  • 1 1/2 cups (170g) unbleached, all-purpose flour
  • 1 tablespoon (12g) sugar
  • 1/2 teaspoon fine sea salt
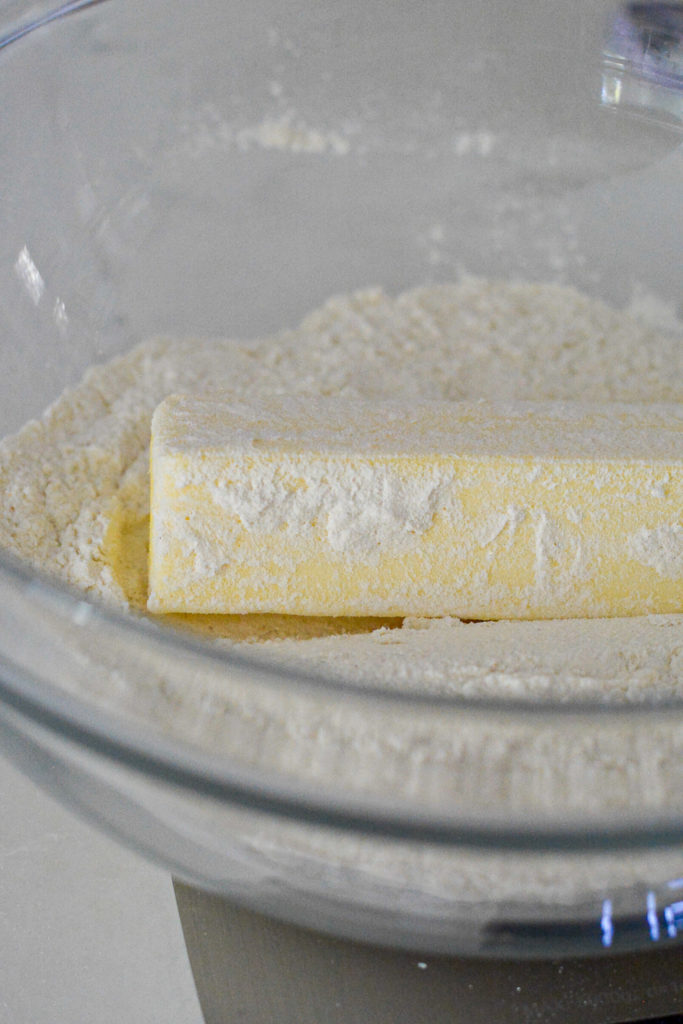
  • 1 stick (113g) unsalted butter, frozen for 15–30 minutes
  • 4–6 tablespoons ice water, plus more as needed

Instructions

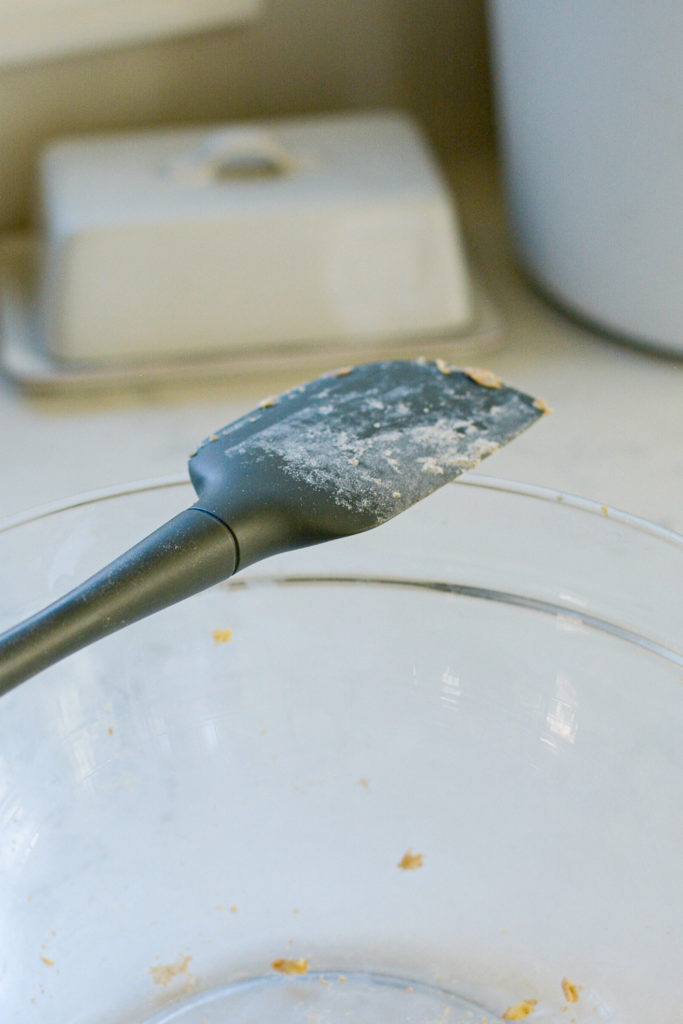
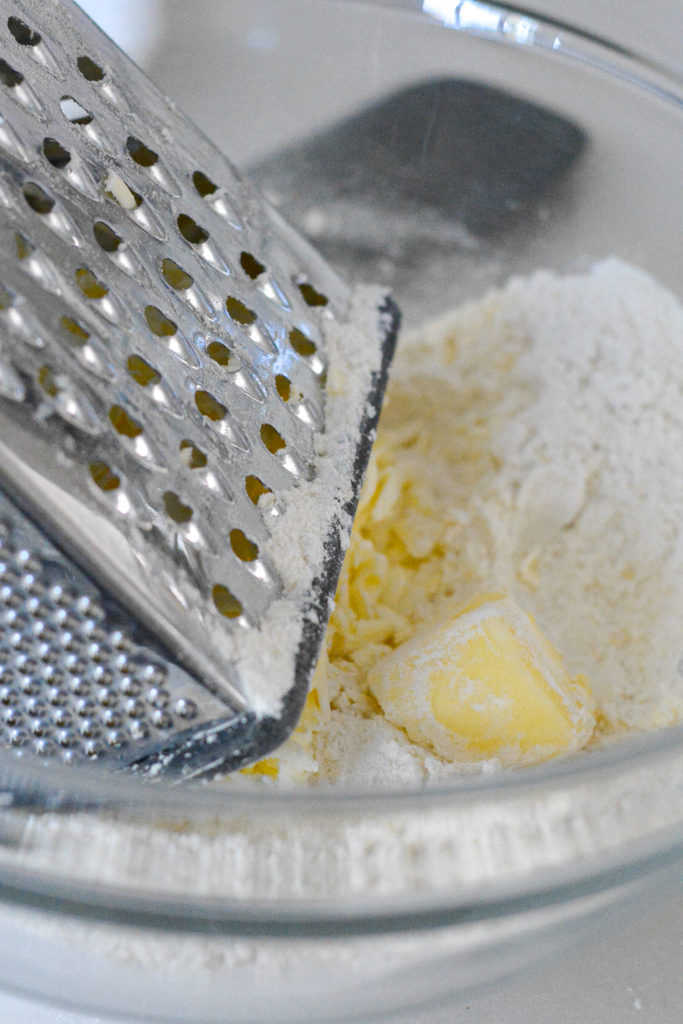
  1. In a large bowl, combine the flour, sugar, and salt. Coat the frozen stick of butter in the flour (to make it easier to handle) and grate the butter directly into the flour mixture, fluffing occasionally with your fingertips.
  2. Toss the grated butter with the flour (like tossing a salad) until well coated, and break up any larger clumps if they form. Make a well in the center of the mixture. Add three tablespoons of ice water and toss with the flour and butter in the bowl.
  3. Add more ice water 1 to 2 tablespoons at a time until the dough begins to come together. As it comes together, fold it over a few times to ensure it’s all incorporated. The dough should hold together without noticeable cracks, but it should not be wet or tacky to the touch.
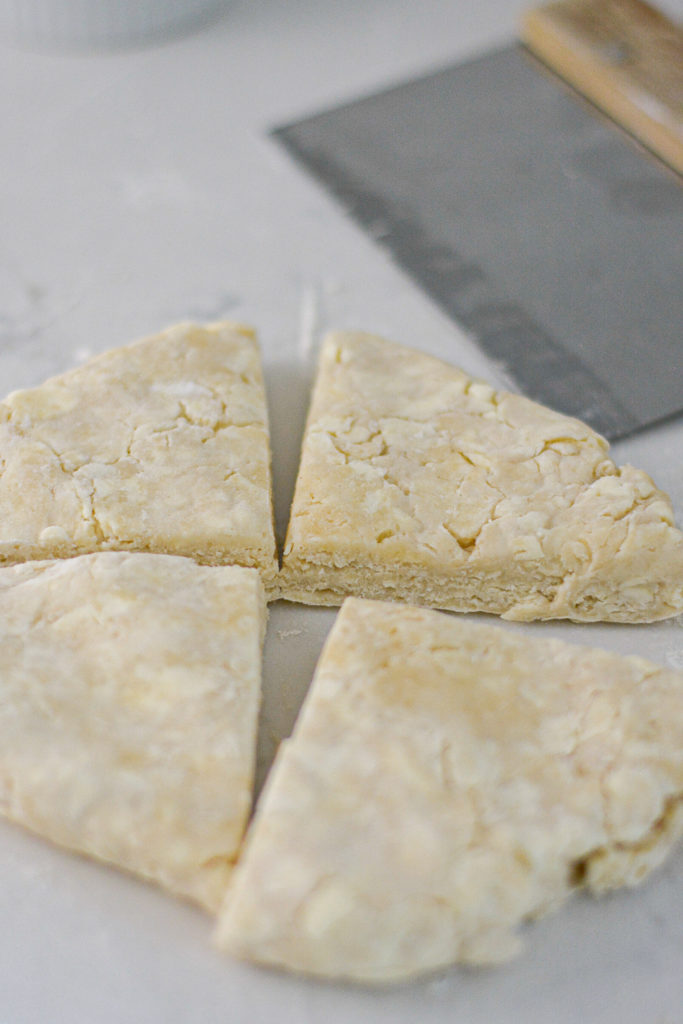
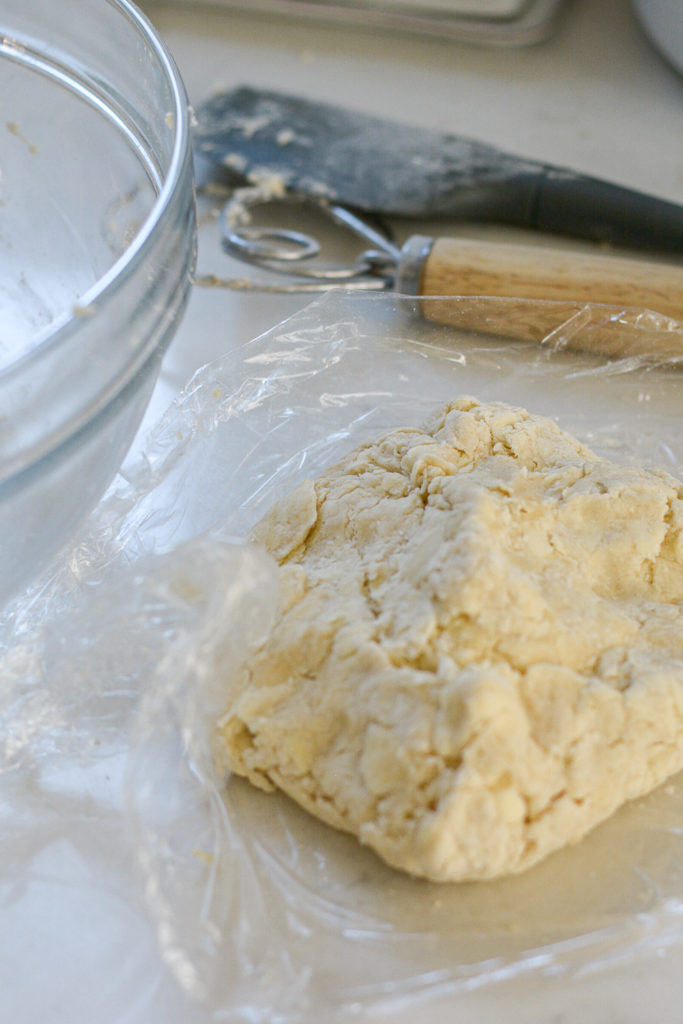
  4. Cut the dough in quarters and stack one on top of the next. Then flatten to form the dough a disk about 1″ thick. Wrap tightly in plastic wrap and refrigerate for at least 1 hour before using and up to 2 days. The dough can also be frozen, well wrapped, for up to 3 months, then thawed overnight in the refrigerator before use.
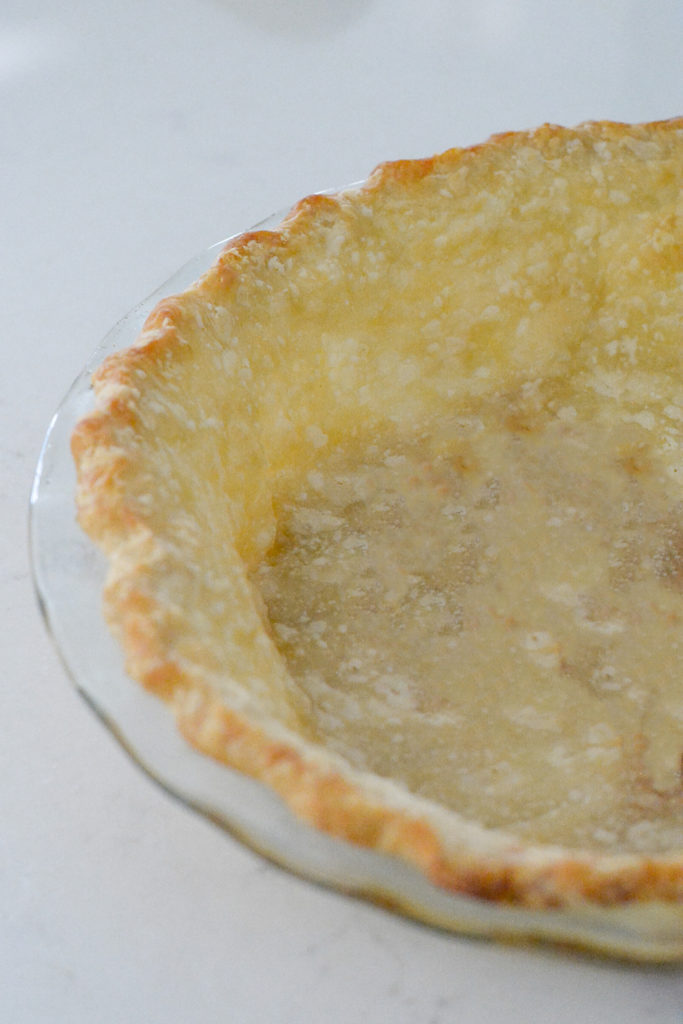
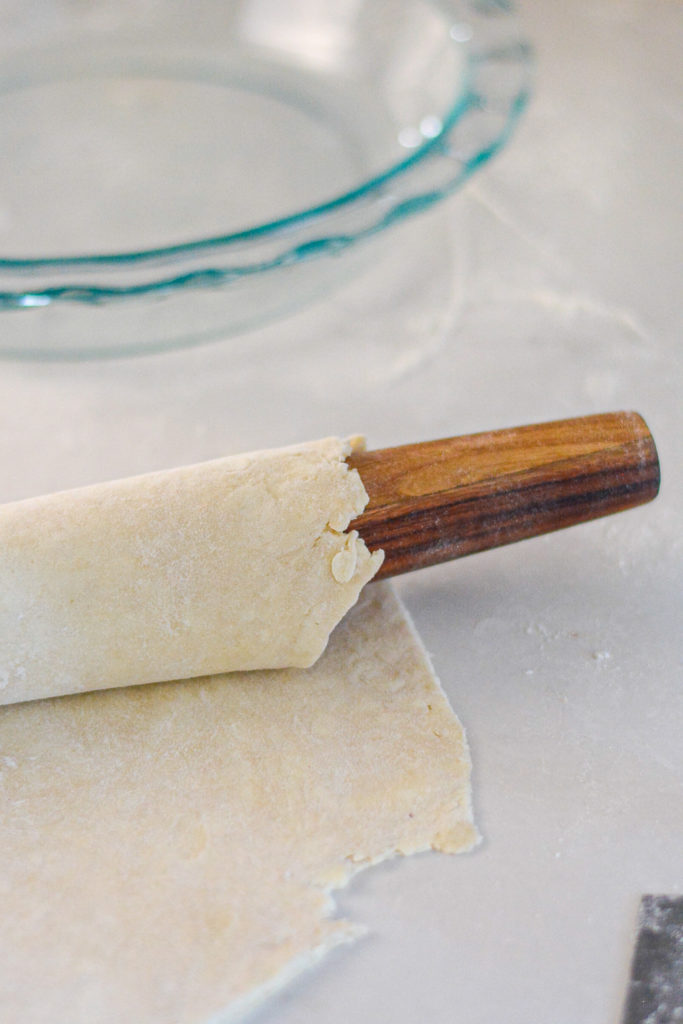
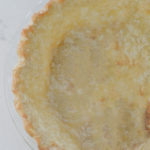
  5. To par-bake the dough: Let the rested dough sit on the counter for about 10 minutes. On a lightly floured work surface, roll out the dough two inches larger than your pie dish (recommend no larger than 9″ pie dish for this dough). Turn as you roll to keep the dough from sticking to the counter. Add bits of flour as needed.
  6. Gently roll the dough onto the rolling pin and slide it onto the pie pan. Do not stretch the dough, but gently lift it into the corners. Trim to 1 inch from the edge of the pie plate and fold under the overhang. Crimp or decorate as you like. Place in the refrigerator for at least one hour before par-baking.
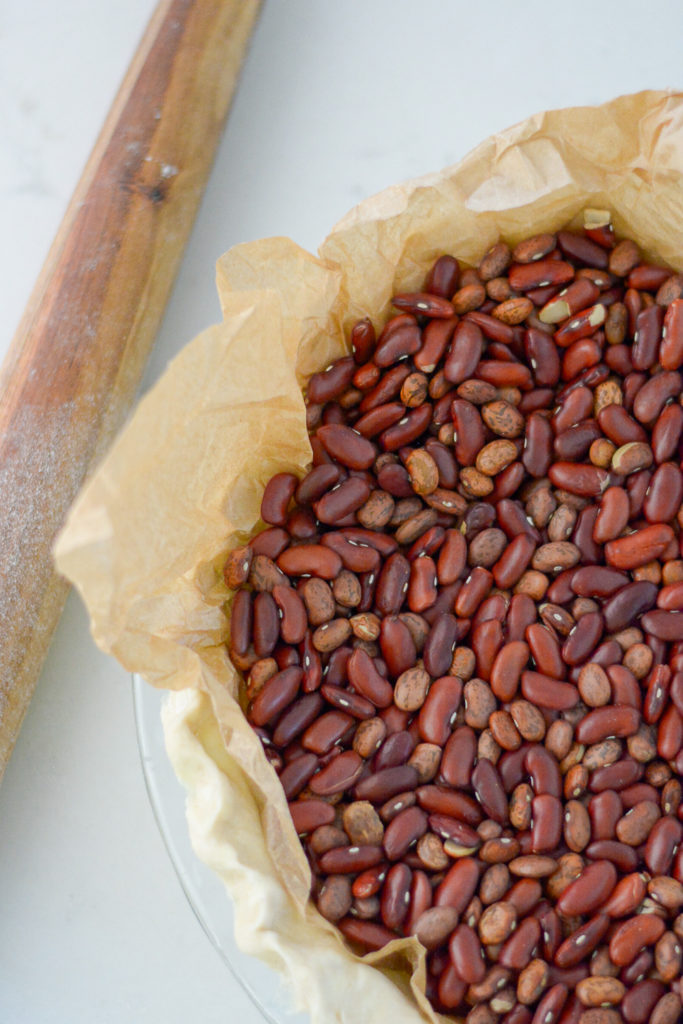
  7. Take a fork and prick the dough all over. This keeps it from puffing up. Then, crumple a sheet of parchment paper (affiliate link) and place it on the dough. Pour 2-3 pounds of pie weights or dry beans on the parchment. This also ensures the dough won’t puff up while par-baking.
  8. Place in a preheated 400° oven and bake for 15 minutes. Carefully remove parchment and beans or pie weights and place back in the oven for another 15 minutes until golden brown. Remove and cool on a wire rack.

Notes

This recipe can be doubled.

* The amount of water depends on how ‘thirsty’ your flour is.

I'd love it if you shared photos of your finished dish! Tag me and I'll return the favor. Enjoy!

Tag @shecooksdesign on the Insta and hashtag it #shecooksdesign

empty glass bowl and rubber spatula

What to do with your pie crust

  • Make a quiche that little bit of sugar doesn’t make the dough sweet, sugar is there to help the structure of the dough
  • Make Pumpkin Hand Pies
  • Add some cinnamon sugar to the extra scraps and bake with the pie, it’s a chefs treat! You can even use a cooking cutter and make cute, tasty cookie treat. Have fun with it.
Thanks for reading, I’d love to know if you make the recipe, and what you think of it!

Happy Baking!

Filed Under: All Recipes, Brunch, Desserts, Misc. Tagged With: no machine pie dough, pie crust, pie dough

Previous Post: « Winter Squash Risotto with Gorgonzola
Next Post: Chocolate Ginger Salami with Hazelnuts »

Reader Interactions

Leave a Reply Cancel reply

Your email address will not be published. Required fields are marked *

Recipe rating 5 Stars 4 Stars 3 Stars 2 Stars 1 Star

Primary Sidebar

Social

  • Email
  • Facebook
  • Instagram
  • LinkedIn
  • Pinterest

Footer

Social

  • Email
  • Facebook
  • Instagram
  • LinkedIn
  • Pinterest
  • Twitter
yukon gold potato and a green onion
Leek and Potato Soup photo in the bowl
Vertical overhead shot of Seedy Irish Brown Bread
photo of wholemeal flour in a large mason jar
close up overhead shot of Irish Cheddar with Guinness Mac and Cheese

Copyright © 2025 · shecooks.design